How to Properly Print a 3D Object: A Complete Guide for High-Quality Results
3D printing is an incredibly powerful tool, whether you're creating prototypes, custom parts, or artistic designs. However, achieving a clean, precise, and reliable print requires more than just hitting “start.” From preparing your model to fine-tuning printer settings, every step matters.
In this guide, we’ll walk you through the essential steps to successfully print a 3D object the right way.
1. Start with a Well-Designed 3D Model
A successful print begins with a solid 3D model. Make sure your file is:
- Manifold (watertight): No holes or non-closed surfaces
- Properly scaled: Check dimensions before exporting
- Optimized for printing: Avoid unnecessary complexity or unsupported overhangs
Use tools like mesh repair software if needed to fix geometry issues before slicing.
2. Choose the Right Material
Different materials behave differently during printing. Your choice should depend on the use case:
- PLA: Easy to print, ideal for beginners and prototypes
- ABS: Stronger, more heat-resistant, but harder to print
- PETG: A balance between strength and ease of use
- TPU: Flexible material for specific applications
Each material requires specific temperature and speed settings, so always check manufacturer recommendations.
3. Optimize Your Slicer Settings
The slicer converts your 3D model into instructions for your printer. Key settings to adjust:
- Layer height: Lower values (e.g., 0.1 mm) give better detail, higher values print faster
- Infill density: Higher infill = stronger parts, but longer print time
- Print speed: Slower speeds improve quality
- Supports: Enable for overhangs beyond ~45°
- Adhesion (brim/raft): Helps prevent warping
Take time to create profiles for different materials and use cases.
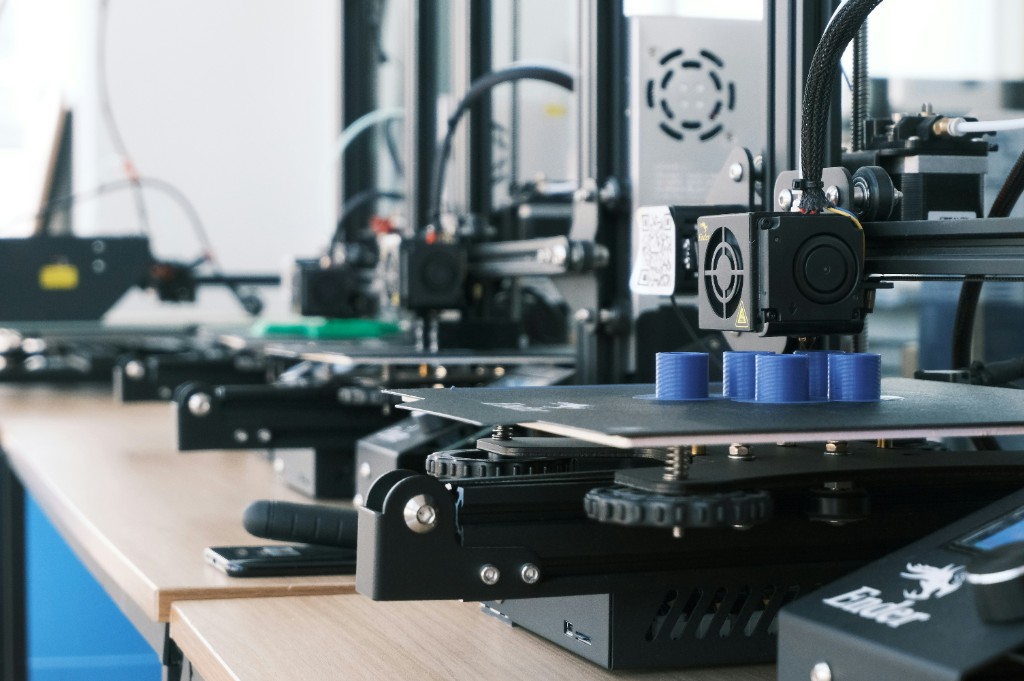
4. Prepare Your 3D Printer
Before printing, make sure your printer is properly calibrated:
- Level the bed: Critical for first-layer adhesion
- Clean the build plate: Remove dust, grease, or residue
- Check nozzle condition: A clogged or worn nozzle affects quality
- Set correct temperatures: Both nozzle and bed must match the material
A well-prepared printer prevents many common issues.
5. Focus on the First Layer
The first layer is the foundation of your print. If it fails, the entire print likely will too.
- Ensure proper bed adhesion
- Adjust Z-offset carefully
- Use slower speeds for the first layer
- Watch the first few minutes of printing
A perfect first layer should be smooth, slightly squished, and evenly laid down.
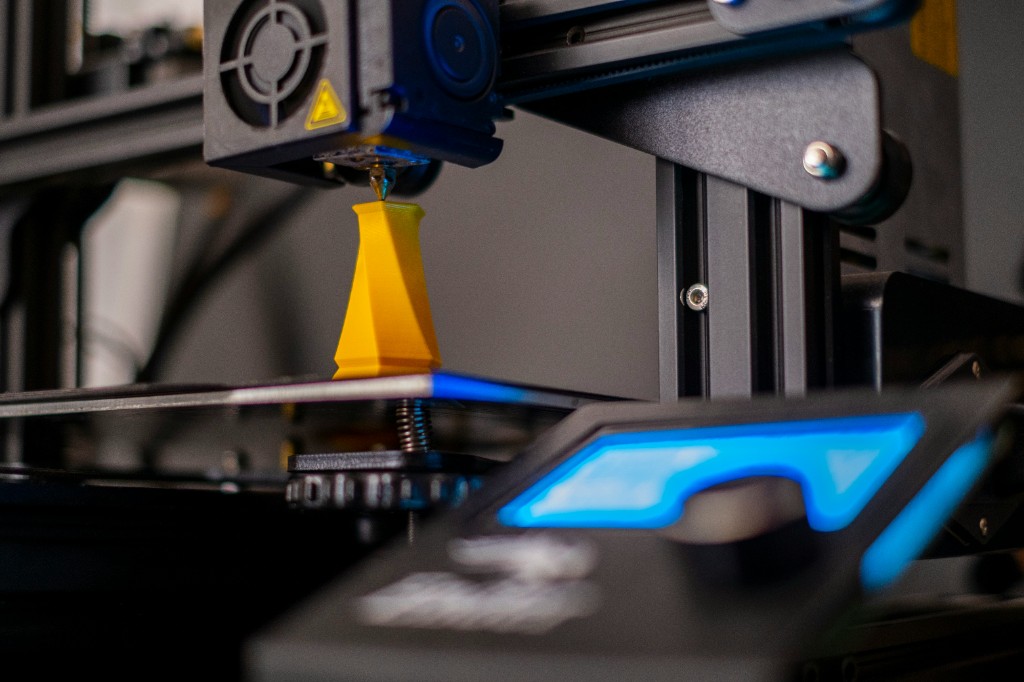
6. Monitor the Printing Process
Even with perfect preparation, things can go wrong mid-print.
- Watch for warping or lifting corners
- Check for stringing or blobs
- Ensure filament is feeding correctly
- Pause or stop the print if necessary
For long prints, consider remote monitoring solutions.
7. Post-Processing for a Professional Finish
Once your print is complete, a few finishing steps can greatly improve the result:
- Remove supports carefully
- Sand rough surfaces
- Apply primer or paint if needed
- Use chemical smoothing (for compatible materials like ABS)
Post-processing transforms a good print into a great one.
8. Common Mistakes to Avoid
- Skipping bed leveling
- Using incorrect temperature settings
- Printing too fast
- Ignoring model errors
- Not adapting settings to the material
Learning from these mistakes will dramatically improve your results over time.
Conclusion
3D printing is both a science and an art. By carefully preparing your model, choosing the right material, optimizing your settings, and maintaining your printer, you can consistently produce high-quality prints.
Whether you're a beginner or an experienced maker, mastering these fundamentals will save time, reduce failed prints, and help you get the best possible results from your 3D printer.
If you want consistently perfect prints, remember: precision at every step leads to perfection in the final object.